DIY Windshield Repair Kits: What They Can Fix, What They Can’t, and When They Make It Worse
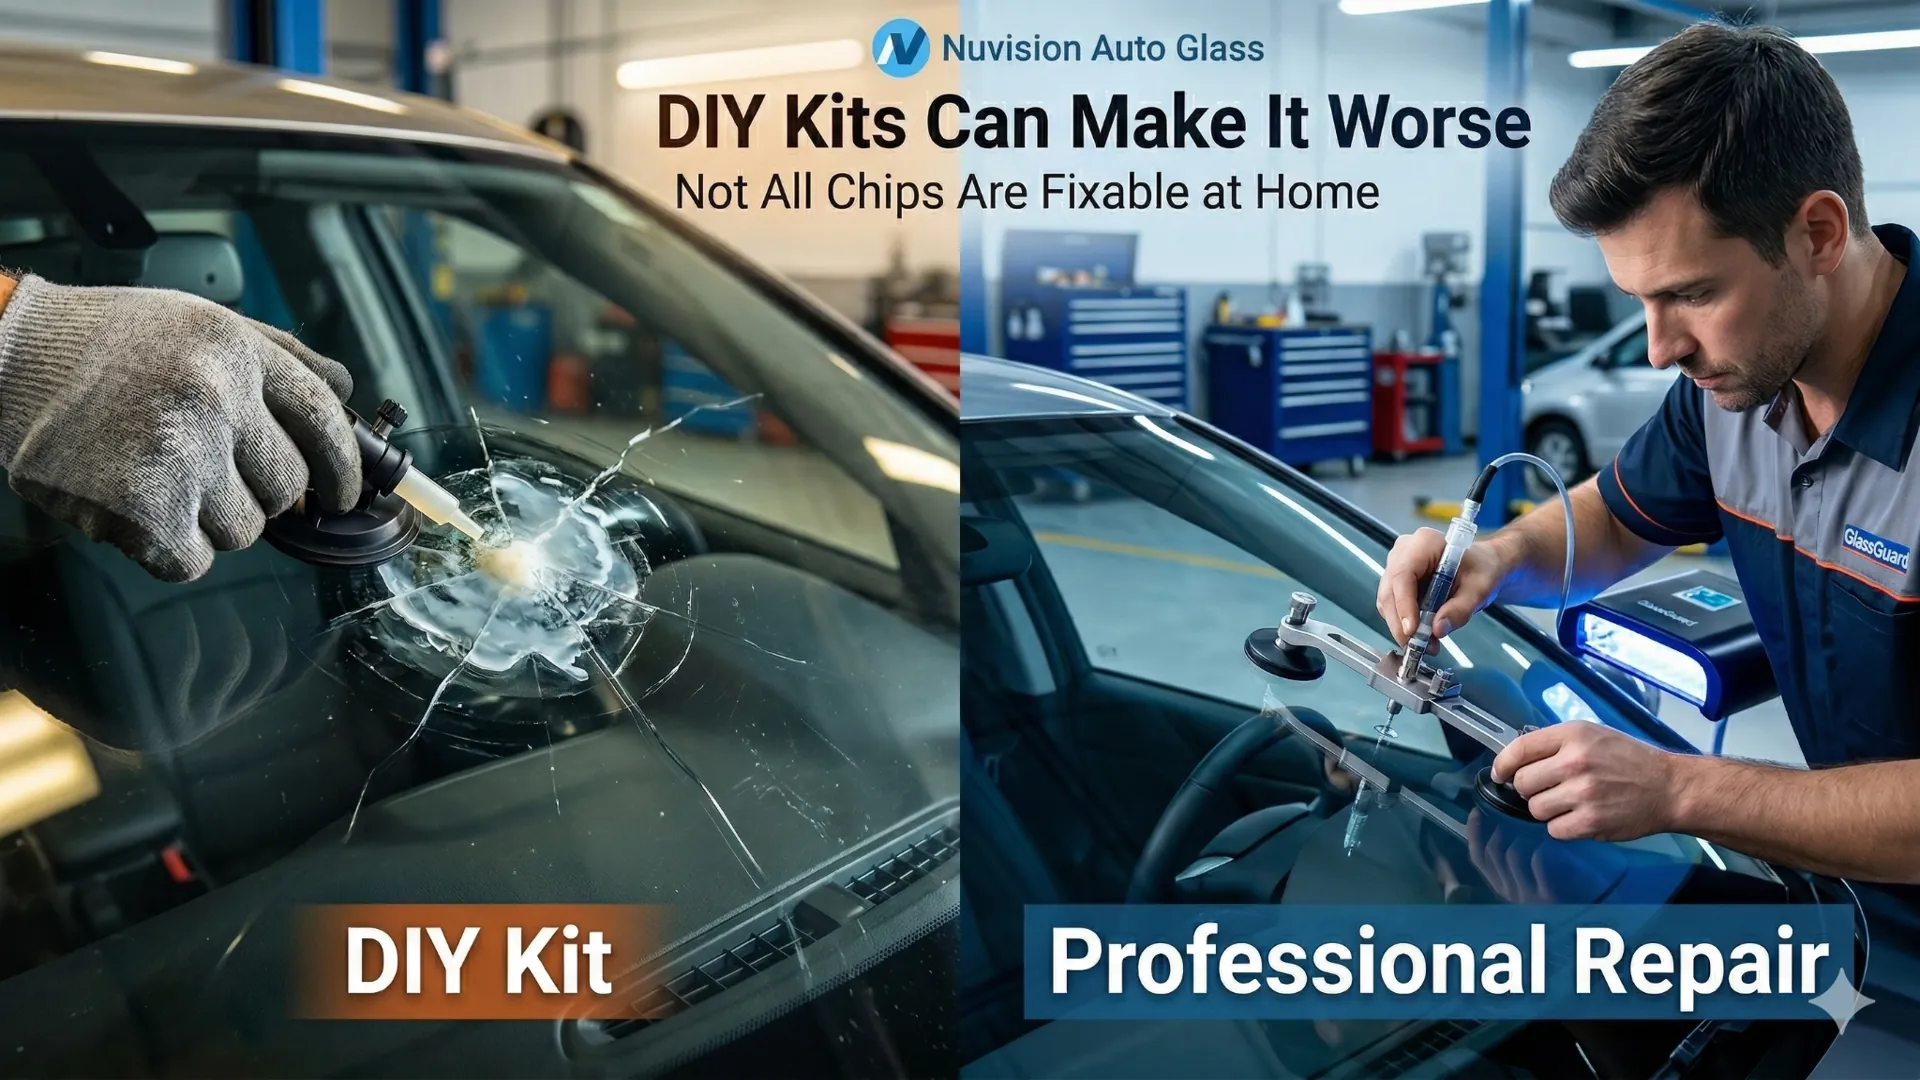
We see the result of DIY windshield repair kits several times a month. A customer arrives with a chip that’s been partially filled, a crack that someone tried to seal, or a damaged area that’s now cloudy with cured resin. In most of these cases, the DIY attempt didn’t fix the problem it complicated it. Some of these jobs were repairable before the kit. After it, they required full replacement.
That’s not a criticism of the products themselves. At-home windshield repair kits have a legitimate use case. The problem is that the conditions under which they actually work are narrower than the marketing implies, and on a modern vehicle, the consequences of using one incorrectly go beyond aesthetics.
DIY kits work on small, fresh, uncontaminated chips under ideal conditions. On cracks, edge damage, ADAS camera zones, or anything your fingernail catches in they don’t work and often make professional repair harder or impossible.
How Do DIY Windshield Repair Kits Actually Work?
Every kit on the market from the $10 drugstore version to the $40 professional-style kit works on the same principle. A bridge or plunger assembly is placed over the chip. It creates a partial vacuum to pull air out of the damage void. Resin is injected into the void and cured with UV light or sunlight, hardening inside the chip to fill the space and reduce light refraction.
When this works, the chip becomes less visible and the glass surface is stabilised enough to slow crack progression. The resin doesn’t restore the original glass structure the damaged area remains weaker than unbroken glass but it reduces the void that would otherwise admit moisture and act as a stress concentration point.
When it doesn’t work, the resin cures with air pockets still present, bonds incompletely to the glass surface, or fills only part of the damage while leaving the rest exposed. The chip may look better immediately after but fail structurally within days especially in heat.
What Types of Damage Can a DIY Kit Actually Fix?
The honest answer is narrower than most kit instructions suggest. A kit has a realistic chance of working on:
- Bullseye chips — circular impact points under 1 inch in diameter, caused by a round object like a small stone. The contained void is the type that responds best to resin injection.
- Small star breaks — radiating cracks under 1 inch across in total span. Manageable if they’re fresh and haven’t admitted moisture.
- Combination breaks — a bullseye with minor legs, if they’re small and the chip is the dominant feature.
In all cases, the damage needs to be fresh, clean, dry, and outside the driver’s direct sightline. If the chip has been exposed to rain, has dirt in it, or has started to show discolouration — the void is already contaminated and resin won’t bond cleanly to the glass surface.
| Damage Type | DIY Kit Result | Recommended Action |
|---|---|---|
| Bullseye chip, under 1 inch, fresh | May work — cosmetic improvement likely | Professional repair still preferred for durability |
| Star break, under 1 inch, no moisture | Partial — may stabilise but legs often remain | Professional repair more reliable |
| Chip with dirt or moisture present | Will fail — resin won’t bond to contaminated glass | Professional repair only |
| Crack of any length | Will not work — creates air pockets, worsens structure | Professional assessment — may need replacement |
| Edge chip or crack (within 2 inches of frame) | Never attempt — structural zone | Professional assessment immediately |
| Damage in driver’s sightline | Do not attempt — optical distortion risk | Professional repair or replacement only |
| Chip near ADAS camera zone | Do not attempt — camera bracket risk | Professional repair with ADAS check |
How Do DIY Kits Interfere With the Structural Integrity of the Glass?
A windshield is laminated two layers of tempered glass bonded to a polyvinyl butyral (PVB) interlayer. When a chip forms, the impact creates a void in the outer glass layer and a stress fracture network extending into the surrounding glass. Professional repair injects calibrated resin under controlled pressure to fill both the void and the stress fractures, bonding to the glass surface and restoring the structural continuity of the outer layer.
DIY kits use a simpler mechanism with less pressure control and no vacuum adjustment for different chip depths. Three specific failure modes compromise structural integrity:
Air pocket entrapment. If the plunger mechanism doesn’t create sufficient vacuum common with consumer kits resin flows into the void but doesn’t displace all the air. Cured resin with air pockets trapped inside is weaker than either the original glass or a professional repair. The air pockets remain as stress concentration points that continue expanding under temperature cycling.
Incomplete stress fracture penetration. The stress fracture halo around a chip extends 8–25mm beyond the visible damage. Professional repair uses calibrated pressure to drive resin into these microfractures. Consumer kits lack the pressure range to reach them reliably. The visible chip is filled; the surrounding weakened structure is not. The result is a chip that looks repaired but fails structurally faster than a professionally repaired chip or an untouched chip.
Resin contamination preventing professional repair. Once DIY resin cures inside the damage void, professional repair becomes significantly harder. The cured resin has to be removed or worked around before fresh resin can be injected. In many cases, partial contamination reduces repairability to the point where replacement is the only remaining option. A chip that was a straightforward $75–150 repair before the kit becomes a $300–500 replacement after it.
Why Is a DIY Kit More Dangerous on ADAS-Equipped Vehicles?
Most vehicles manufactured after 2016 have a forward-facing camera mounted to the windshield directly behind the rearview mirror. The camera bracket is bonded to the glass. Lane departure warning, automatic emergency braking, and adaptive cruise control all depend on that camera being positioned within millimetres of its calibrated location.
When a chip occurs near the camera mount zone roughly the upper centre third of the windshield. DIY repair attempts introduce two specific risks that professional repair avoids:
Physical pressure on the bracket. The bridge assembly used in DIY kits applies downward pressure to the glass surface. Near the camera mount, this pressure can minutely flex the glass or shift the bracket position. A 1mm displacement creates approximately a 6-foot lateral detection error at highway range with no dashboard warning indicating the system is now misaligned.
Resin near optical surfaces. Camera lenses are sensitive to optical distortion. Resin applied near the camera zone even if it doesn’t directly contact the lens can affect the refractive index of the glass in that area. Some ADAS systems are sensitive enough to begin reporting errors from distortion in the glass near their field of view.
Any damage within 6 inches of the camera mount area visible near the rearview mirror base should go to a professional, not a DIY kit. For the full explanation of what camera misalignment does at speed, see the chip assessment guide.
Does Climate Make DIY Kits More Likely to Fail in Arizona, Florida, or South Carolina?
Yes and the failure mode differs by state.
Arizona. Heat is the problem. DIY resin cures faster in high temperatures faster than the instructions are written for. A kit applied to a windshield that’s been sitting in 110°F sun may partially cure before the plunger cycle is complete, trapping air and leaving the resin incompletely bonded. Arizona drivers who attempt DIY repairs should work in shade on a cool surface — which in Phoenix summer means early morning or indoors with AC. Even then, the tight thermal window makes consistent results difficult.
Florida. Humidity is the problem. Moisture in the air and on the glass surface interferes with resin bonding. Florida’s year-round humidity means that even a chip that appears clean and dry may have absorbed enough ambient moisture to prevent clean adhesion. We see more DIY kit failures in Florida than in Arizona because the moisture contamination is invisible drivers assume the chip is dry when it isn’t.
South Carolina. Freeze-thaw is the problem. A DIY repair that appears successful in October may fail by January. As temperatures drop below freezing, water that entered any unfilled portion of the damage expands and forces the resin bond apart. A chip that was stabilised by a DIY kit in fall can crack fully by February. Professional repair drives resin deeper into the stress fracture network providing a bond that’s significantly more resistant to freeze expansion.
Frequently Asked Questions
Do DIY windshield repair kits actually work?
On fresh, small, uncontaminated bullseye chips outside the sightline they can provide a cosmetic improvement. They won’t restore structural integrity to the original standard, but they can reduce visual distortion and slow crack progression in ideal conditions. On cracks, contaminated chips, or damage near the ADAS camera zone, they typically fail and make professional repair harder.
Can a DIY repair kit fix a windshield crack?
No. Resin injected into a crack via a consumer kit cannot travel the full fracture uniformly. Air pockets form, the resin cures incompletely, and the crack often becomes less visible but structurally worse. Once DIY resin has cured in a crack, professional repair success rate drops significantly. Cracks require professional assessment most under 6 inches are still repairable if they haven’t been contaminated.
Can I use a DIY kit if my car has ADAS cameras?
Not near the camera zone. The upper centre section of the windshield roughly where the rearview mirror is mounted houses the ADAS camera bracket. Physical pressure or resin near this area risks shifting the bracket or affecting the camera’s optical field. Any damage within 6 inches of the camera mount should be handled professionally, with an ADAS check after the repair.
If a DIY kit fails, can a professional still fix it?
Sometimes but with reduced success rates. Cured resin contaminating the damage void has to be removed before professional resin can be injected cleanly. In many cases this reduces repairability enough that replacement becomes the only option. A fresh chip repaired professionally costs $75–150. The same chip after a failed DIY attempt can become a $300–500 replacement.
What’s the fingernail test for deciding whether to attempt a DIY repair?
Run your fingernail across the damage. If it glides over without catching, the damage is surface-level and may respond to a DIY kit. If your nail catches or drops into the void, the damage is too deep for a consumer kit to fill properly and attempting it will likely cause the contamination problems described above. When in doubt, a free professional assessment takes 15 minutes and tells you exactly what you’re dealing with.
A Free Professional Assessment Costs Less Than a Failed DIY Attempt.
The kits work in a narrow set of conditions. Outside those conditions, they don’t just fail they make the problem harder and more expensive to fix. On a vehicle with ADAS cameras, the consequences extend beyond the glass itself.
A chip assessed and repaired professionally within 48 hours costs $75–150, often $0 with insurance. The same chip after an unsuccessful DIY attempt contaminated, partially cured, requiring either removal or replacement costs $300–500 and takes longer to resolve.
If you’re in Arizona, Florida, or South Carolina and you’re unsure whether a chip is DIY territory or needs professional attention — book a free assessment at nuvisionautoglass.com/get-a-quote. Mobile service, same-day availability. We’ll tell you straight whether it’s repairable, how, and what it costs.
Find us on Google Maps:
NuVision Auto Glass — Arizona
NuVision Auto Glass — Florida