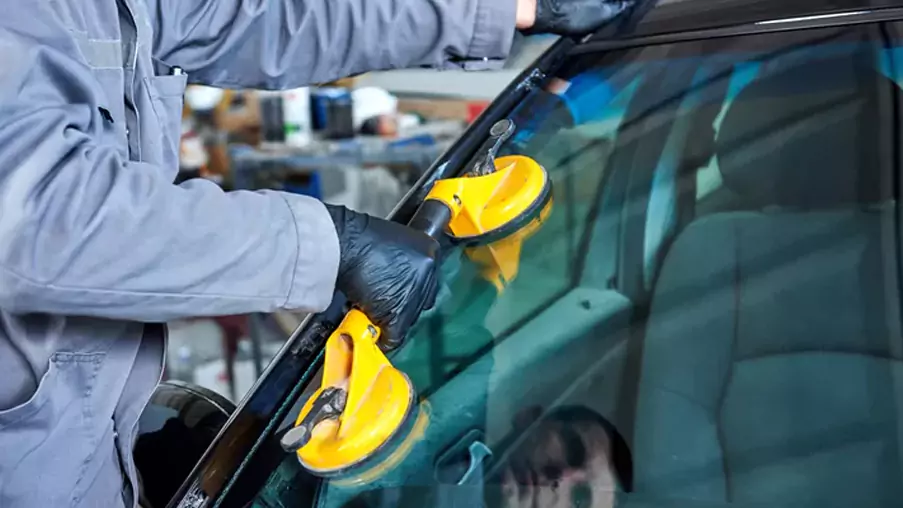
How to Replace Broken Glass in a Single-Pane Window?

A broken glass inside a single-pane car window not only compromises the thermal insulation of your vehicle but also poses a safety risk. Thankfully, changing a single-pane car window glass is convenient with the correct equipment and methods.
In this article, learn how to do a single pane window repair through a step-by-step process and ensure the car window is restored and appears like the original. Learn about the materials, equipment, and expertise needed for car window repairs & safety precautions & final inspections. So, let us get started!
Safety Precautions
Your first concern should always be safety when starting any car repair project. Take the following safety measures into consideration while replacing broken glass in single pane glass repair:
- Wear safety goggles and thick gloves to shield yourself from glass pieces.
- Ensure the workspace has enough ventilation to release any dust or fumes produced during repair.
- To avoid accidents, use caution when handling sharp objects and materials and keep kids and pets away from the work area.
Tools & Materials
Equipment and supplies are necessary before starting the repair. Hence, gather the desired supplies and tools to maximize efficiency. These include:
- Heavy gloves
- Goggles for safety
- Putty knife
- Glazing solution
- Utility knife or glass cutter
- A measuring tape
- Replacement glass pane
- Tape for painting
- Sandpaper
- Primer and paint (if required)
Preparation
Ensure you have the required instruments and supplies before starting the repair. Begin with a putty knife, and carefully remove any remaining glass pieces from the car window frame.
Confirm the frame is completely clean from dirt, debris, and remaining putty. Using sandpaper, clean any rough areas around the frame to create a smooth surface on which the new glass pane will stick. By following these prerequisites, single pane window repair costs will go more smoothly and effectively.
Measuring and Ordering Glass
Measure the dimensions of the broken window replacement opening accurately using a measuring tape. Take measurements from both the width and height of the opening and subtract 1/8 inch from each dimension to allow for a snug fit.
Order a replacement glass pane with these precise measurements from your local glass supplier or hardware store.
Removing the Old Putty
Painter’s tape should be carefully applied along the edges of the car window frame to protect adjacent areas before installing the replacement glass pane.
Remove the old putty from the frame using a putty knife to ensure complete but easy removal. Scrape away any last bits of putty residue carefully without harming the sides, leaving the frame clean and ready for the new glass.
Installing the New Glass
When the car window frame is ready, gently insert the replacement glass pane, and ensure it fits tightly inside the gap. Using a putty knife, lightly coat the frame’s edges in a glazing compound.
After firmly pressing the glass into the compound, round off the edges for the look of polished glass & before moving on to the next stage, let the compound dry fully. Lastly, check the car window replacement to ensure the glass is firmly in place and adjust if needed.
Finishing Touches
As directed by the manufacturer, let the glazing compound dry fully. When the primer is dry, paint the car window frame with two paint coats to improve its look and give it more weatherproofing. To further enhance insulation and reduce drafts, try adding car window weather stripping to ensure your car window is well-sealed and energy efficient.
Final Checks
Check everything is in working condition by giving the car window a full check after the installation and finishing touches are complete. Examine the glazing compound for holes or fractures and do any required touch-ups.
To ensure there are no obstructions and the car window is functioning properly, roll the window up and down a few times. Check the vicinity for any indications of damage or leaks as well. By taking the time to make these last inspections, you can be confident that your window replacement & repair will be done to the highest calibre.
Replace Your Broken Window with Ease
Replacing broken glass in a single pane window repair is a simple procedure if you follow the correct steps and safety measures. It is possible to successfully restore the functionality and look of your car window by following the systematic approach described in this article.
Throughout the repair procedure, keep in mind to put safety first and take your time to ensure every step is done correctly. You benefit from a safe and draft-free car window for many years with the right planning, cautious installation, and careful finishing touches.
If you’d prefer a professional to handle the job quickly and safely, contact NuVision Auto Glass for a free quote. Their experienced technicians can replace your window pane with high-quality glass and ensure a proper seal to keep your home comfortable and energy efficient. Call NuVision Auto Glass today or visit the website to schedule an appointment!
FURTHER READING
➤ How Much Does Windshield Replacement Cost?
➤ Should I Go Through Insurance for Windshield Replacement?
➤ How Long to Wait After Windshield Replacement for Car Wash

